Thunderbolt technology offers incredible data transfer speeds, seamless connectivity, and the ability to daisy chain multiple devices. Whether you are a gamer, a professional video editor, or simply someone looking for faster connection options, installing a Thunderbolt expansion card can unlock new potentials for your computer system. In this guide, we’ll walk you through the steps to install a Thunderbolt expansion card.
Preparation Before Installation
Before diving into the installation process, ensure you have everything necessary for a smooth installation. Here’s a checklist to help you get started:
- Thunderbolt expansion card
- Screwdriver
- Antistatic wrist strap
- Manuals and drivers (if applicable)
Double-check your computer’s motherboard to confirm it has the correct slot (usually a PCIe slot) for the Thunderbolt card and ensure your power supply unit (PSU) can handle the additional power requirements.
Checklist for Preparation
| Item | Description |
|---|---|
| Thunderbolt expansion card | The card you will be installing |
| Screwdriver | For opening the case and securing the card |
| Antistatic wrist strap | To avoid damaging components with static electricity |
| Manuals and drivers | Guides and software necessary for installation |
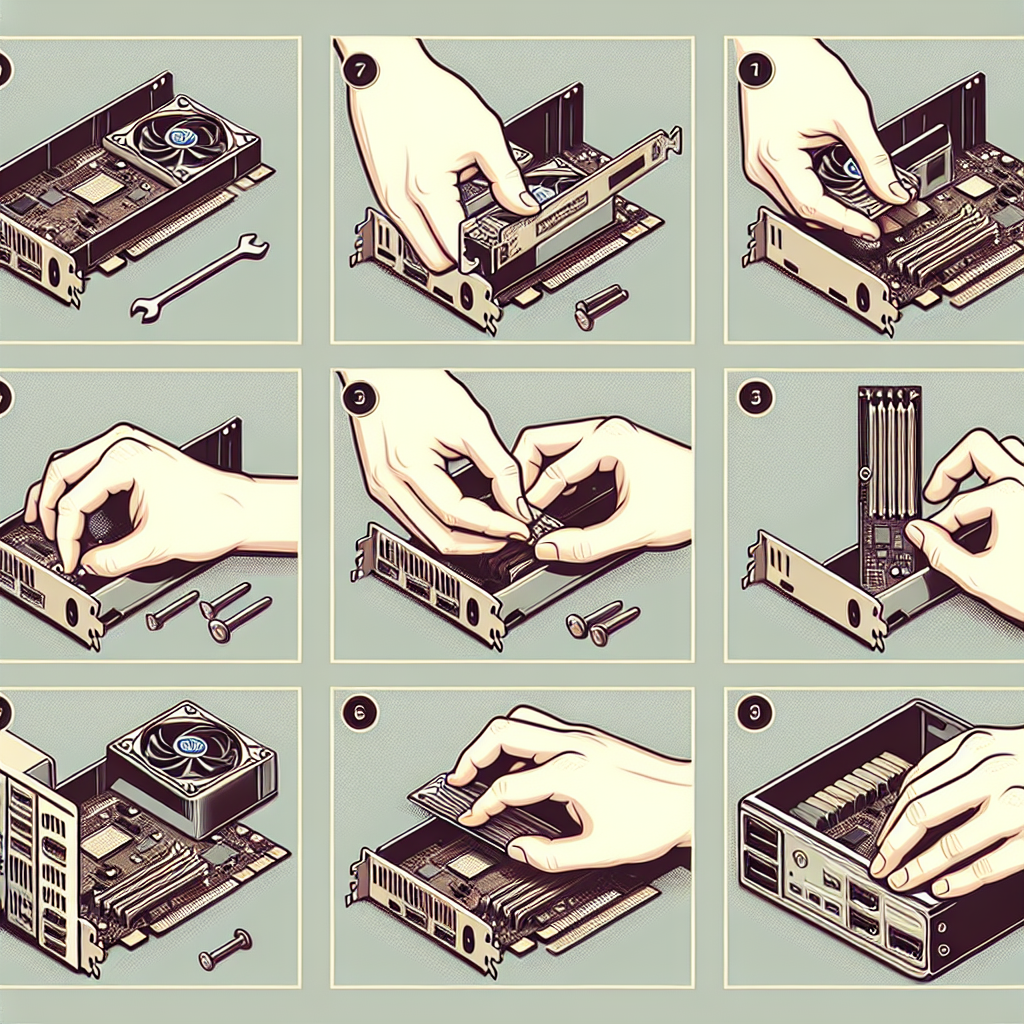
Step-by-Step Installation Guide
Step 1: Shutdown and Unplug the Computer
Start by shutting down your computer and unplugging all cables, especially the power cable, to ensure safety during installation.
Step 2: Open the Case
Using a screwdriver, open your computer case. Most cases have thumb screws or screws located at the back. Ensure you have a proper workspace and keep the screws in a secure place.
Step 3: Ground Yourself
Put on the antistatic wrist strap to ground yourself and prevent any static electricity from damaging sensitive computer components.
Step 4: Locate the PCIe Slot
Find an available PCIe slot on your motherboard. Make sure it matches the type of slot your Thunderbolt expansion card requires.
Step 5: Insert the Thunderbolt Expansion Card
Carefully align the Thunderbolt expansion card with the PCIe slot and gently push it in until it is fully seated. Use screws to secure the card to the case.
Step 6: Connect Power Supply (If Needed)
Some Thunderbolt cards require additional power. If your card has a power connector, connect it to an appropriate PSU cable.
Step 7: Close the Case
Once the card is secured and connected, close the computer case and fasten all screws.
Step 8: Reconnect and Power On
Reconnect all cables to your computer, including peripherals and the power cable. Power on your computer.
Step 9: Install Drivers
Once your computer is on, the operating system may automatically detect the new Thunderbolt card. If not, install drivers from the manufacturer’s website or the provided CD.
Troubleshooting Tips
Common Installation Issues
- Card Not Detected: Ensure the card is fully seated in the PCIe slot. Restart the computer or try another PCIe slot.
- Driver Issues: Make sure you have the latest drivers from the manufacturer’s website.
- Power Issues: Verify all necessary power connectors are securely attached.
Post-Installation Performance
After successful installation, test your Thunderbolt connection by attaching Thunderbolt-compatible devices. Monitor the performance and transfer speeds to ensure everything is functioning optimally.
Conclusion
Installing a Thunderbolt expansion card is a straightforward process that can significantly enhance your computer’s connectivity and data transfer capabilities. By following these steps and checking the compatibility of your components, you can upgrade your system with minimal hassle. Happy computing!